Eurooptic vortex burris nightforce sale


teslong borescope digital camera barrel monitor


As an Amazon Associate, this site earns a commission from Amazon sales.


July 10th, 2014

Kevlar Vest vs. 24 Layers of Drywall — Which Stops Bullets Better?

Which do you think is a better bullet-stopper — twenty-four (24) layers of drywall, or a $299 vest with 40 layers of Kevlar? Watch this video and you may be surprised. The makers of the BulletSafe vest fired a round from a .50-Caliber Desert Eagle pistol into the vest. The bullet did not penetrate the vest — not even close. If fact, the bullet only made it through seven of the 40 layers of Kevlar (see timeline 0:48″)

Would drywall be as effective? Surprisingly, the answer is “no”. A bullet fired from the .50-Cal Desert Eagle passed through all 24 sheets of drywall, exiting out the last sheet. Lesson learned? Don’t expect the drywall in your house to offer much protection. The makers of the video caution: “This video shows you how much damage your weapon can do….”

BulletSafe bulletproof vest drywall plywood penetration test

Bullet-Proof Vest Ratings
The BulletSafe vest tested is a Level IIIA model. Level IIIA is the thickest Kevlar laminated, flexible body armor available to the general public. Priced at $299.00, this Level IIIA vest is rated to stop most handgun rounds, buckshot, and shotgun slugs. You can get even more protection by adding a ballistic plate made from ceramic and/or metal. Fitted to a Level IIIA vest, BulletSafe’s $169.00 ballistic plates can stop some rifle rounds.

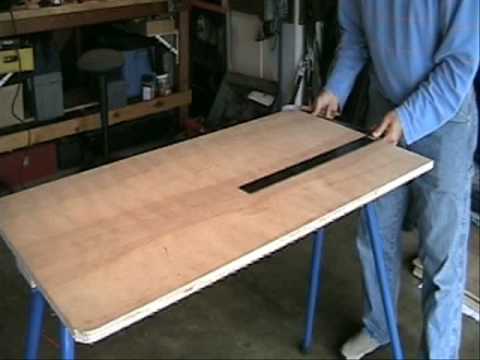
Plywood Stopping Power Test
The vest-makers also did a test with plywood. A box was constructed with 24 layers of 3/8″ plywood. The bullet from a .50-caliber Desert Eagle past through twelve layers of plywood before being halted by the thirteenth panel. So, you can say the BulletSafe vest is as effective at stopping this round as 13 layers of plywood. CLICK HERE for Plywood Stopping Test Video.

BulletSafe bulletproof vest drywall plywood penetration test

Permalink - Videos, Tactical 3 Comments »
July 19th, 2010

Build Your Own Portable Shooting Bench — Step-By-Step Video

Are you looking for a stable and affordable shooting bench for your next varmint safari? Well, why not build your own? Clemdog, a talented wood-worker and avid varmint-hunter, has designed a sturdy, portable bench you can build for $75.00 in materials. The bench is made from plywood attached to Rugged Buddy sawhorse legs which fold open and engage securely with patented snap-locks. These tubular steel legs cost about $60.00 per set. Clemdog’s bench can also be built with banquet table legs. These are cheaper, but heavier (and some extra assembly work is required).

Clemdog Shows How to Build Your Own Bench
Clemdog has created a nice video that shows, step-by-step, how to build his portable shooting bench. Clemdog writes: “I am amazed at the number of shooting tables on the market today. I’ve seen them in catalogs at prices ranging from $75 to almost $500. While I’m sure it’s a pleasure to shoot from one of the high-end benches, I wouldn’t want to drop the cash on one, nor would I want to assemble and disassemble one each time I repositioned. The vast majority of the lower-end tables or benches are so rickety that it would be difficult to shoot accurately from them. If you have a saw and a drill, or can borrow one, here’s how you can make your own portable shooting and reloading bench for [about $75.00].” Just watch the video below:

YouTube Preview Image

Instructions for Table Fabrication
Clemdog says: “Start with a 3/4″ plywood panel, available at Home Depot or other lumber yards for about $15. Pay a few bucks more for a birch or other nice veneer, it will look fantastic if you varnish the table. The panels come 48″ x 24″. You will also need some wood glue, and about 15 #10 wood screws, about 1-1/4″ long. Check out my video on how to build the bench using a set of folding Rugged Buddy 34″ sawhorse legs. If you opt for standard banquet table legs, you will need about 20″ of scrap 2×4 and four to six 3″ lag bolts with washers and nuts to bolt the 2x4s to the table top.”

At the end of his video, Clemdog offers some sound advice: “Don’t buy a crappy bench, or spend hundreds of dollars on a bench. Build your own. It will be a fun project and it will last you for years.” For more info, visit Clemdog’s personal webpage, which also hosts a series of reloading videos.

Permalink - Videos, Tech Tip 2 Comments »