Free Reloading Bench Plans
Serious shooters spend lots of time in the reloading room. If you want to produce great ammo, start with a good, solid bench with a very rigid working surface and plenty of storage space. Here we present three sets of FREE workbench plans. Any one of these bench designs can be a good winter do-it-yourself project for those with basic word-working skills.
Easy-to-Build Basic Bench
Simpson, maker of Strong-Tie fasteners, offers FREE Workbench Plans for a sturdy, 48″-wide bench with a pegboard backing and both upper and lower shelves. A complete list of fasteners and cut lengths is provided. For use as a loading bench with mounted presses, double-up the bench-top for extra ridigity. Without much difficulty, the plans can be adapted to build a wider bench if you prefer. The same downloadable document also contains plans for an 80″-high 6-shelf unit, a 72″-high heavy-duty shelving unit (with 4 shelves), and a 48″-wide heavy-duty table.

FREE Strongtie Bench Plans (.pdf file).
Corner Bench with Swinging Doors
The next design is rather unique — a corner bench with swing-out cabinets. This reloading bench is based on plans by M. L. McPherson as published in the October 1993 American Rifleman. The compact footprint that makes good use of corner space that is usually poorly utilized. This set of plans is provided by from Ray-Vin.com, which sells scope stands, shooting carts, sight accessories, and AR15 parts.
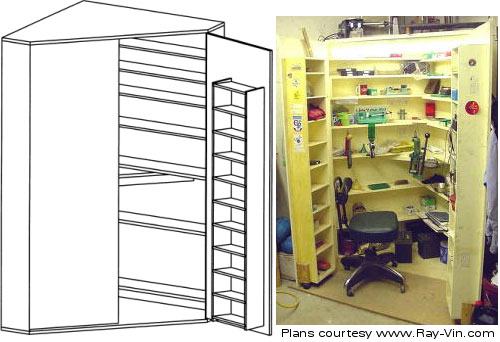
FREE Corner Bench Plans (330kb .pdf file)
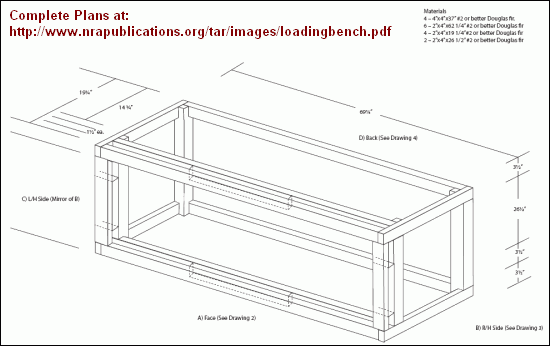
Classic NRMA Bench with Cabinets
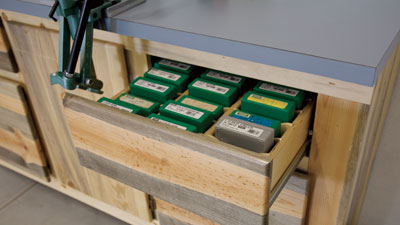
The last bench design is a large, versatile bench with a full set of enclosed overhead cabinets. A National Reloding Manufacturers Association (NRMA) design, this bench requires many hours to build, but it will house all your reloading gear and provide a very stable platform for your presses.This bench was designed to be as versatile as possible to meet the needs of most reloaders. However, the bench design can easily be customized. For instance, it can be made larger or smaller to meet space requirements or quantities of equipment and components. As it is currently designed, the work area is about waist-high for a 6’2″ person. This can be adjusted to fit your height simply by making the legs longer or shorter.