Bench-Source Annealing Machine — Video Review by 6.5 Guys
 The 6.5 Guys, a dedicated duo of Pacific NW rifle shooters, have created an interesting series of shooting-related videos on their 6.5 Guys YouTube Channel. In this video, The 6.5 Guys set up and demonstrate the Bench-Source cartridge brass annealing machine. The video explains how to set up the machine, how to attach and adjust the torches, and how to “fine tune” the flame and dwell time to achieve best results.
Read Full Annealing Article on 65Guys.com.
To complement this video, the 6.5 Guys (aka Ed and Steve) have published an Annealing Tech Talk article on 65guys.com. If you own an annealing machine, or are getting started with cartridge annealing, you should read that article. It covers basic annealing principles, and gives useful tips on temp control, dwell time, and frequency of annealing. After the video, we feature highlights from this article.
Temperature Control
We use 750° Tempilaq applied inside the case neck to indicate that the proper temperature has been achieved. If you turn off the lights, you will notice that the brass just barely starts to turn color. As you go beyond the 750° mark we observed that the case mouth will start to flare orange — you can see this with the lights on. From our research, we understand that this is the result of zinc burning off. We adjust the time on our machine between the point that the Tempilaq turns liquid and the flame starts to turn orange. In other words, if the flame is starting to turn orange reduce the time. We let the cases air cool — we don’t quench them in water.
The case starts to flare orange here, during a set-up test. Dwell time was then reduced slightly.

Flame Orientation
We aim the flame at the neck-shoulder junction. Some folks like to aim it at the neck and others the shoulder. When you see how the two flames meet and spread out vertically, it probably doesn’t make that much of a difference.
Here you can see the flame points aimed at the neck-shoulder junction.

Case Coloration
Cases will turn color after annealing, but the degree of color change is not a reliable indicator. We have noticed that the appearance of cases will vary depending on brass manufacturer, brass lot, light source, and how long ago the case was annealed.
How Often Should You Anneal?
Some shooters anneal every time while others choose a specific interval. We noticed work hardening around five firings that resulted in inconsistency in shoulder setback and neck tension, so we choose to anneal every three firings. Your mileage will vary depending on how hot your loads are and how aggressively you resize.
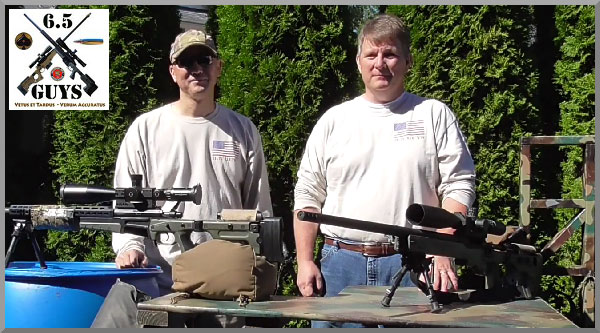
Who are the 6.5 Guys? They are Ed (right) and Steve (left), a pair of avid shooters based in the Pacific Northwest. They have released 22 Videos on the 6.5 Guys YouTube Channel.

Similar Posts:
- The 6.5 Guys Review Bench-Source Annealing Machine
- Annealing–Restoring Life to your Brass
- 6.5 Guys Review of AMP Induction Annealer
- New, Versatile Brass-O-Matic Annealing Machine
- New Annealing Machines from Ballistics Edge Mfg.
Tags: 6mmbr, Anneal, Annealer, Annealing, Bench-Source, Cartridge Brass, PRS, Tempilaq


The part about how the time is adjusted, the color of the flame and why that happens is pure gold. IMO too much has been written about neck glow, and too little (more like nothing) about this. Working with a different Tempilaq temperature, on a different location, with heavy walled large magnum brass, in a different two torch annealer, I noticed the flare just at the instant that cases were advanced out of the flames, but at the time did not know why it was happening. For our situation, the annealing was perfect, based on evaluation of shoulder bump consistency and retention of neck tension.
Thanks for the feedback Boyd and confirming our observations.
Ed and Steve
I use 1/2 inch washers on the torch head shafts to cut down on adjustment time when switching cartridge types, simply add or subtract washers, I have a noted how many washers for each caliper. Good video.
Great idea 427Cobra. That’s certainly better than the hash marks we contemplated in the video.
Ed and Steve
Where did you get the y-connector for the propane and also where did you get the hose and torches? That is a nice set up.
David
Love to know too where you got the Y connector for hooking up the propane #20 pound tank? Love to get the same setup as you guys have
Thanks Alton Pilgrim