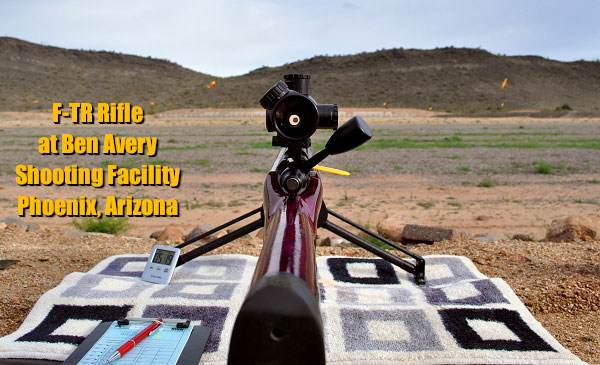
The 2026 Southwest Nationals will be held at the Ben Avery Shooting Facility in Phoenix, Arizona on February 11-15, 2026. We know many of our readers will be traveling by air with their rifles next week to compete at the SW Nationals in Arizona. Here is a helpful article from Team Savage Shooter Stan Pate. This covers how to ship your rifle safely, and then re-establish zero properly when the gun is reassembled after transport. This is one of a series of Shooting Tips articles in the Savage Blog.
Traveling with Firearms — Important Advice
Traveling with firearms can be stressful. You must comply with multiple regulations and then trust your expensive guns to airline baggage handlers. And after arrival you’ll need to put your rifles back together and confirm the zeros. This article offers helpful travel advice from Team Savage shooter Stan Pate. Pate has traveled the globe competing with match rifles. Here he shares his tips for making trips easier on you and your firearms.
Easier Air Travel With Firearms
TSA isn’t nearly as careful with your rifles as you are. Proper storage before sending your firearm up a conveyer belt and into the belly of a plane is critical. Stan Pate spends lots of time each year traveling the skies and has devised a system for keeping his rifle safe when going to and from.
“Never travel with your firearm completely assembled,” Pate cautions. “A fully assembled firearm is much heavier [as a total unit] than one that has been broken-down and stored [in separate sections]. More weight creates more in-the-case movement, which can result in damage. I learned this the hard way years ago. My rifle was actually broken in half when traveling to an international competition. Record your torque settings, use those settings during reassembly and your return to zero should be no problem.”
“Be sure to check on current TSA rules and regulations before travel to be aware of any changes that may effect how you pack your rifles,” says Pate.
Rifle Reassembly and Resetting Zero
The quicker you can reestablish your zero, the quicker you can relax and stop worrying about if your rounds are going to hit their mark during competition. Pate, over the years, has developed a system for rifle reassembly and getting back to zero as quickly as possible. While his torque settings may not be the same as yours, the process can still be used.
“The barreled-action goes back on the stock, and then I tighten all three receiver screws finger tight,” says Pate. “Next, I tighten the front two receiver screws down to 35-inch pounds. The rear receiver screws on this particular rifle likes 15-inch pounds. [Note: Proper torque settings will vary with your action and stock type. Most actions have TWO screws, not three.] Scope attachment comes next, and I follow manufacturer settings when tightening it down. All that’s left to do now is go zero your rifle.”
This video explains an efficient method to Re-Zero your rifles
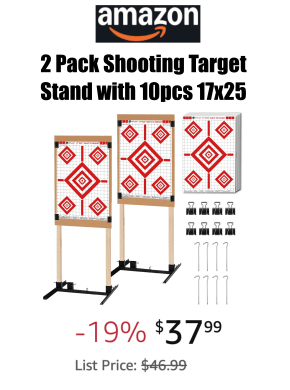
However, if you don’t have a printer, don’t want to pay for commercial targets or adhesive target stickers, then there IS an interesting option. One of our Forum members has created his own Custom TARGET STAMP. Using an INK PAD, this creates a black multi-ring bullseye on paper that matches the exact dimensions of a competition target (SEE Top Photo).
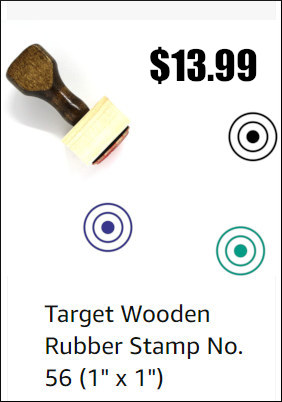
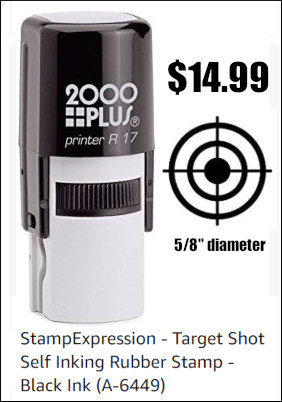
Forum member JimmyMac wanted a target that replicates a competition multi-ring bullseye. He wanted to be able to stamp this bullseye quickly and easily on blank paper. Shown below is the custom stamp he created to accomplish that task. JimmyMac posted: “I took dimensions of a 100-yard group target and had a stamp made to transfer to the paper of my choice. Not revolutionary by any stretch, but works good. I may do a UBR score target stamp next.” JimmyMac purchased the target stamper through an online vendor: “I bought mine online. I provided a template. They did the rest. Here is the stamp and the ink that goes inside.” READ FORUM Thread for more information.
Target Stamp Sets on Amazon
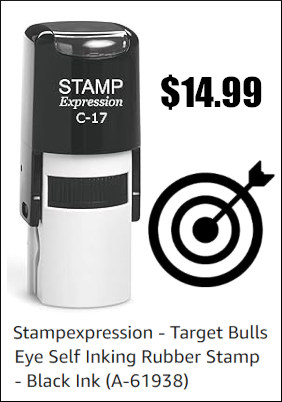
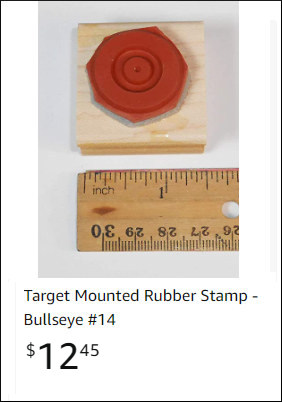
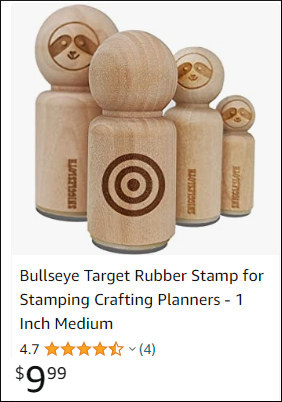
There are a large variety of ink-using target stamps available now on Amazon. Some of these are “self-inking” for convenience, while others require a separate ink pad to function. Here are some of the many target stampers currently offered. There are many target pattern and target size options.
This article is Copyright 2026 AccurateShooter.com. Republication by any other website or media violates Federal copyright law and obliges that third party to pay statutory penalties and damages.
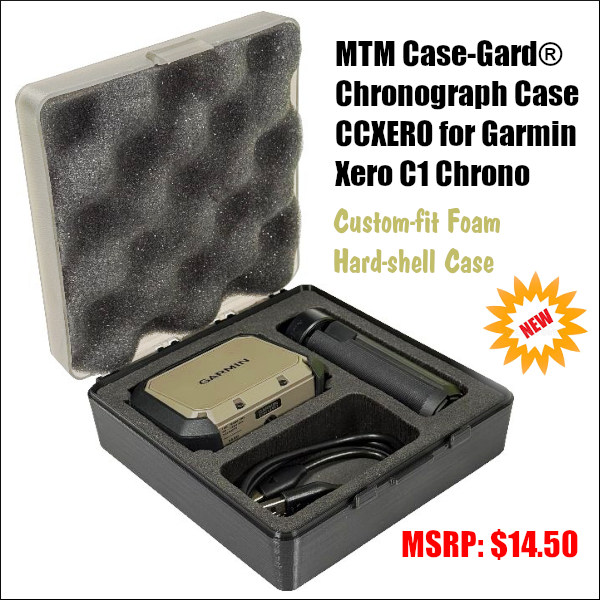
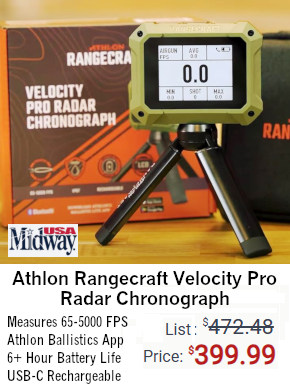
MTM Case-Gard has just introduced a new foam-padded case for the popular Garmin Xero C1 Pro radar chronograph. This new MTM CCXERO Case holds the Xero C1 securely in a foam section, with a separate section for the tripod, charging wires, and other gear. With a $14.50 MSRP, this new case is very affordable and looks quite sturdy. We predict it will become quite popular with Garmin chrono owners. If you have an Athlon Rangecraft Radar Chronograph, this MTM Case might work but would require some foam trimming.*
MTM states: “The new MTM Case-Gard Chronograph Case (CCXERO) delivers secure, custom-fit protection for the popular Garmin Xero chronograph. Inside, precision-cut foam cradles the chronograph and its accessories for reliable transport and storage. A hard-shell exterior shields against impacts and debris, while the compact, dark earth design makes it easy to grab, stow, or stack.” MTM Case-Gard CEO Steve Minneman added: “The Chronograph Case was built to match the precision of the equipment it protects — because serious shooters deserve serious gear protection.”
MTM Case-Gard Chronograph Case (CCXERO) Key Features:
Custom-fit foam holds Garmin Xero and accessories
Hard-shell construction for superior protection
Ideal for storage or transport
Rugged, purpose-built design
Compact and portable
Garmin Chrono Carry Case Options on Amazon
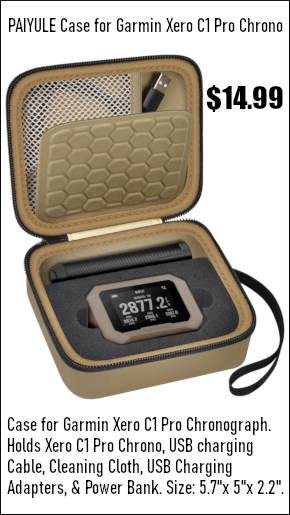
Here are two more compact carry cases that can hold the Garmin Xero C1 and its small bipod. There is the $29 waterproof Pelican 1040 case on the left and the $15 zippered Paiyule case on the right. Both are available on Amazon. The Payuile case is similar to the new MTM CCXERO case inside, but is somewhat smaller and comes in four colors: tan, black, black/brown, and black/orange.
* Garmin vs. Athlon Chrono Sizes: The Athlon Rangecraft chronograph is slightly larger and heavier than the Garmin Xero C1 Pro. The Athlon Rangecraft measures approximately 3.5″ x 2.7″ x 1.2″, while the Garmin is smaller at roughly 3″ x 2″ x 1.7″.
More and more folks are using Burris Signature Rings these days. These unique rings feature polymer inserts. That allows you to pre-load some elevation in your scope set-up, or you can center-up the windage. Additionally, the polymer inserts hold your scope securely without leaving marks on the tube. Lastly, some folks believe that Signature rings may offer advantages for benchrest competition. Rodney Wagner shot a world-record 600-yard group using Burris Signature Zee Rings (“Zee” denotes the Weaver-rail model). James O’Hara set multiple IBS 1000-yard records using Burris Signature Zee Rings. James will tell you he thinks “all his guns seem to shoot best with these rings”.
IBS World Record Set with Signature Zee Rings
Are Signature Zees good enough for competition? Absolutely. Some folks scoff at these Burris rings, given their modest price. A set of 1″-diameter Sig Zees cost $40.89 at Midsouth. But consider this, in 2013 Rodney Wagner shot the then-smallest 600-yard group in history, a 0.336″ 5-shot stunner, using Signature Zee Rings on his IBS Light Gun. It took five years for a smaller 600-yard group to be shot, a 0.311″ by bullet-maker Bart Sauter, using his IBS Heavy Gun. (See IBS 600-yard Records.) Here’s Rodney with his record-setting rifle, fitted with affordable Signature Zee 30mm rings.
Vendors Have Burris Signature Rings in Stock Now
Various models of Burris Signature Rings are available from many online vendors including Brownells, Midsouth, and MidwayUSA. NOTE: You may have to check with more than one seller to get the exact size, height, and model you prefer. But right now these vendors have pretty good selections of Signature Zees in stock now, including the popular 30mm High ($61.99 at Brownells) and 30mm Extra High models ($56.36 at Midsouth). If you check all three sellers, you’ll probably find what you need.
⏺️ » Over 70 loadbook varieties — great for pistol and hunting loads
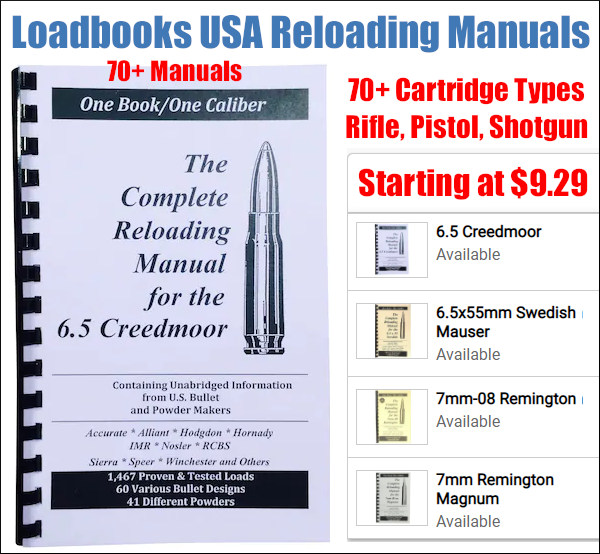
Loadbooks pack a ton of valuable load data in a single handy volume. These booklets efficiently summarize data from multiple bullet and powder manufacturers. We have used these Loadbooks for our pistol loading as well as common rifle hunting loads. Right now a wide selection of these loadbooks are in-stock at MidwayUSA, with affordable prices. The 6.5 Creedmoor manual is $9.29, the .45 ACP book is $10.49, the .223 Rem book is $11.49, and the .308 Win book is $12.49.
Chose from over 70 cartridge types, including .380 ACP, 9mm Luger, .357 Magnum, .40 SW/10mm, .45 ACP, .204 Ruger, .223 Rem, 22-250, 6mm Remington, 6.5 Creedmoor, 6.5×55, 7mm-08, .270 Win, .284 Win, .308 Win, .30-06, 300 WinMag, .338 LM, 12ga shotshell and many more. NOTE: On MidwayUSA’s landing page, click “Select Title” then scroll down to choose your preferred cartridge type. You an order multiple loadbook titles by adding to the shopping cart.
NOTE: Good load information is available online from Hodgdon and other powder companies. But it’s handy to have a print book that you can use without Wifi, and make notes about your loads. Sometimes a traditional reference is actually more convenient than the internet.
Today we feature a great video about firearms crafting produced by Beretta, a legendary Italian gun-maker. Founded in 1526, 500 years ago, Beretta has remained under family leadership for 16 generations. This year Fabbrica d’Armi Pietro Beretta celebrates 500 years as the world’s oldest, continuously-operating firearm manufacturer, founded in 1526 in Gardone Val Trompia, Italy. The five-century celebration started with a major event at SHOT Show 2026.
Video set to auto-play. Click speaker icon to hear sound.
Today’s featured movie, entitled “Human Technology”, is one of most impressive videos we’ve ever featured on this site. It’s that good. You’ll see an amazing blend of modern technology along with old-world artisanship — “a mesmerizing meld of the high-tech and the traditional”. (Daniel Xu, Outdoor Hub.)
“Human Technology is a singular and symbolic movie, its cast entirely made up of Beretta workmen, thus illustrating the perfect synthesis between craftsmanship and technology,” Beretta writes. This artistic movie by Ancarani Studio illustrates all the aspects of the manufacturing of a high-end Beretta shotgun. This video is a study in contrast. The movements of robotic assembly machines are juxtaposed with the centuries-old craftsmanship of stock carvers. Beautifully filmed and edited, this video should amaze and entertain anyone who loves fine firearms. (Full-screen HD Recommended.)
Beretta — Incredible history. Beretta was founded in 1526, five centuries ago. Remarkably, the enterprise is still owned by the Beretta family.
Beretta is now a huge gun industry company — the Beretta Holding Group now owns Sako, Tikka, Burris, Steiner, and Norma. Sako and Tikka were acquired in 2000, Burris Optics in 2002, and Beretta added Steiner-Optik and Norma via RUAG Ammotec. Beretta Holding provides a complete range of firearms, optics, and ammunition through these and a dozen other brands.
When your cases become hard to extract, or you feel a stiff bolt lift when removing a cartridge, it’s probably time to full-length size your cases, and “bump” the shoulder back. We generally recommend bumping shoulders each time you reload, after the initial fire-forming. Benchrest and F-Class benchrest shooters, running relatively high pressures, typically full-length size every load cycle, bumping the shoulder .001-.003″. High Power shooters with gas guns generally full-length size every time, and may need to bump the shoulders .003″ or more to ensure reliable feeding and extraction.
Use Shims for Precise Control of Shoulder Bump
Some shooters like to set the “default” position for their full-length die to have an “ample” .003″ or .004″ shoulder bump. When they need less bump, a simple way to reduce the amount of shoulder movement is to use precision shims in .001″ (one-thousandth) increments.
Here are reports from Forum members who use the shims:
“Great product. I have my die lock ring(s) adjusted for the shortest headspace length on my multiple chambers 6BRs and 6PPCs. When needing a longer headspace, I just refer to my notes and add the appropriate shim under the lock ring. Keep it simple.” — F.D. Shuster
Mats Johansson writes: “I’ve been using [shims] since Skip Otto (of BR fame) came out with them. I set up my dies with the .006″ shim, giving me the option of bumping the shoulder a bit more when the brass gets old and hardens while still having room to adjust up for zero headspace, should I have missed the original setup by a thou or two. Hunting rounds can easily be bumped an extra .002-.003″ for positive, no-crush feeding. Being a safety-oriented cheapskate, I couldn’t live without them — they let me reload my cases a gazillion times without dangerous web-stretching. Shims are a must-have, as simple as that.” — Mats Johansson
Sinclair Die Shim Kit — Seven Shims for $14.99
Sinclair Int’l (through Brownells) offers a seven-piece set of Sizing Die Shims that let you adjust the height of your die (and thereby the amount of bump and sizing) in precise .001″ increments. Sinclair explains: “Some handloaders will set their die up to achieve maximum sizing and then progressively use Sinclair Die Shims between the lock ring and the press head to move the die away from the shellholder. Doing this allows you to leave the lock ring in the same position. These shims are available in increments of .001″ and work very well.”
Seven Shims from .003″ to .010″
Sinclair’s $14.99 Die Shim Kit (item 22400) includes seven shims in thicknesses of .003, .004, .005, .006, .007, .008, and .010. For ease of use, shim thickness is indicated by the number of notches cut in the outer edge of each shim. Even without looking you can “count” the notches by feel.
At the request of our readers, we provide select “Deals of the Week”. Every Sunday afternoon or Monday morning we offer our Best Bargain selections. Here are some of the best deals on firearms, hardware, reloading components, optics, and shooting accessories. Be aware that sale prices are subject to change, and once clearance inventory is sold, it’s gone for good. You snooze you lose.
NOTE: All listed products are for sale to persons 18 years of age or older. No products are intended for use by minors.
Graf & Sons — Berger Bullet Sale (Save up to 29%)
⏺️ » Save on Berger match, varmint, & hunting bullets, plus Berger ammo
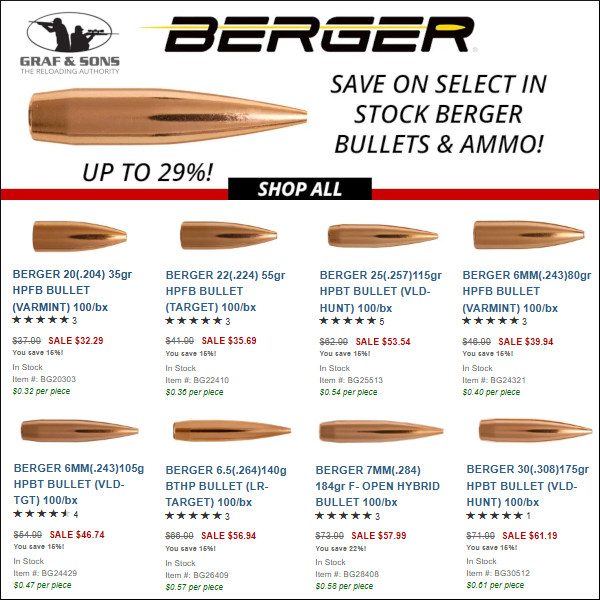
Here’s your chance to stock up on some of the best bullets you can buy. Right now at Graf & Sons, a vast selection of Berger Bullets is on sale for all popular calibers: .204, .224, 6mm, .257, 6.5mm, .270, 7mm, .308, .338 and .375. Save up to 29% on popular match, varmint, and hunting bullets. In addition Graf’s has discounted the excellent Berger Loaded Ammunition which uses top-quality brass. Loaded ammo is offered for a wide variety of cartridge types, from .223 Rem to .338 Norma Mag. If you shoot PRS/NRL we can definitely recommend the Berger 6mm Creedmoor ammo.
Graf & Sons — SnapSafe Titan Assemble-On-Site GunSafes
⏺️ » Unique Shippable Gun Safes in Liftable Segments
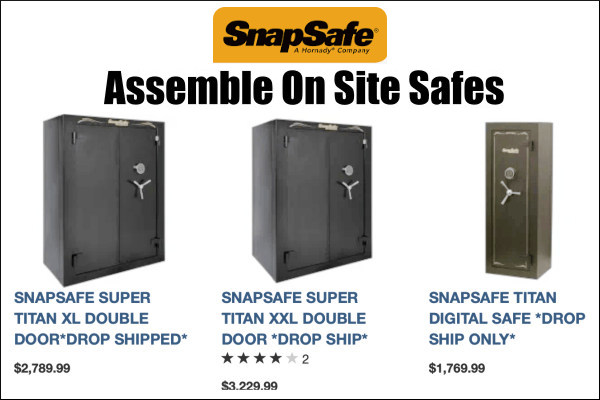
Have you been wanting a good gunsafe but are put off by having to move it or can’t get it into the room you want? Consider one of these SnapSafe Assemble-On-Site Safes that have all the security of a conventional, welded safe in an easy-to-assemble valuables and closet gun vault that moves anywhere piece-by-piece, then locks together in minutes with no specialized tools.
As an Amazon affiliate, this site can earn revenues through sales commissions.
“Shoot Like a Champion”. Bryan Litz, author of Applied Ballistics for Long-Range Shooting, says he often sees notes like this tucked in shooter’s gear (or taped to an ammo box) at matches. What “marksmanship mantras” do you use? Do you have a favorite quote that you keep in mind during competition?
On the Applied Ballistics Facebook Page, Bryan invited other shooters to post the motivating words (and little reminders) they use in competition. Here are some of the best responses:
“Shoot 10s and No One Can Catch You…” — James Crofts
“You Can’t Miss Fast Enough to Win.” — G. Smith
“Forget the last shot. Shoot what you see!” — P. Kelley
“Breathe, relax, you’ve got this, just don’t [mess] up.” — S. Wolf
“It ain’t over ’til the fat lady sings.” — J. McEwen
“Keep calm and shoot V-Bull.” — R. Fortier
“Be still and know that I am God[.]” (PS 46:10) — D.J. Meyer
“Work Hard, Stay Humble.” — J. Snyder
“Shoot with your mind.” — K. Skarphedinsson
“The flags are lying.” — R. Cumbus
“Relax and Breathe.” — T. Fox
“Zero Excuses.” — M. Johnson
“SLOW DOWN!” — T. Shelton
“Aim Small.” — K. Buster
“Don’t Forget the Ammo!” (Taped on Gun Case) — Anonymous
PARTING SHOT: It’s not really a mantra, but Rick Jensen said his favorite quote was by gunsmith Stick Starks: “Them boys drove a long ways to suck”. Rick adds: “I don’t want to be that guy”, i.e. the subject of that remark.
Smart gun owners know they need a good, solid gun safe. But when choosing a gun safe, what kind of lock should you select — electronic or mechanical? Both types have their advantages and disadvantages. This article will help you make the right choice for your needs and also get the most reliable performance from either type.
Gunsafes can be fitted with either an electronic keypad-style lock, or a conventional dial lock. In our Gunsafe Buyer’s Guide, we explain the important features of both dial and electronic lock systems. Many safe-makers will tell you that consumers prefer electronic locks for convenience. On the other hand, most of the locksmiths we’ve polled believe that the “old-fashioned” dial locks, such as the Sargent & Greenleaf model 6730, will be more reliable in the long run. CLICK HERE to learn more about the Pros and Cons of Mechanical (dial) Lock vs. Electronic (keypad) safe locking systems.
One safe supplier, The Safe Keeper, notes that mechanical (dial) locks tend to be more reliable over long periods: “When it comes to reliability, a mechanical lock is the way to go. Anything electronic is designed to fail sooner or later. For every 20 broken electronic locks we will get one mechanical. Bottom line is, it’s not that complicated to input a combination on a mechanical lock. Those extra 7 seconds just might save you from being locked out and having your safe drilled opened.”
This Liberty Safe video compares Mechanical (dial or key) vs. Electronic (keypad) safe locking systems.
Here is the opinion of RFB from Michigan. He is a professional locksmith with over two decades of experience servicing locks and safes of all brands and types:
What a Professional Locksmith Says:
For the convenience of quick opening, the electronic locks can’t be beat. However, for endurance and years of trouble-free use, the electronics can’t compare with the dial lock.
I’ve earned my living, the past 22 years, servicing locks of all types. This includes opening safes that can’t otherwise be opened. I do warranty work for several safe manufacturers (including Liberty). What I’ve learned in all those years is that manual dial locks have very few problems. The most common is a loose dial ring which can shift either left or right, which will result in the index point being in the wrong place for proper tumbler alignment. This is simple to fix.
Electronic locks, however, can have all kinds of issues, and none (except bad key-pad) are easy to fix, and when one goes bad, it must be drilled into to open it. IMO, it’s not a matter of ‘if’ an electronic lock will ultimately fail, but a matter of ‘when’ it will fail. Over the past 10 years or so, since electronics have become more and more prevalent, I’ve had to drill open bad electronic locks vs. bad manual dial locks on a ratio of about 20-1.
My professional opinion is to get the manual dial lock, unless you’ve got a good friend who is a locksmith/safecracker.
How Secure is Your Lock?
RFB tells us that both dial and electronic locks offer good security, provided it’s a good quality lock made by LaGard, Sargent & Greenleaf, Amsec, or Kaba/Ilco. However, RFB warns that “Some of the ‘cheaper’ locks (both manual and electronic) however, are very simple to bypass.
An electronic lock that’s glued or ‘stuck’ to the door with double-sided tape, and has its ‘brain’ on the outside of the lock in the same housing as the keypad, and merely sends power to an inner solenoid via a pair of wires through the door, is a thief’s best friend. The good ones have the brain inside the safe, inaccessible from the outside.
No amateur can ‘manipulate’ either a good manual or electronic lock. Both give you a theoretical one million possible combinations. I say ‘theoretical’ because there are many combinations that cannot, or should not, be used. You wouldn’t set your combo on a dial lock to 01-01-01 etc., nor would you set an electronic to 1-1-1-1-1-1, or 1-2-3-4-5-6.”
Tips for Dial Locks
RFB notes that “The speed, and ease of use, of a manual dial lock can be improved upon, simply by having your combo reset using certain guidelines. Avoid high numbers above 50. Having a 1st number in the 40s, 2nd number anywhere from 0-25, and 3rd number between 25 and 35 will cut dialing time in half, without compromising security. (For mechanical reasons I won’t get into here, the 3rd number of a good manual dial lock cannot — or should not — be set to any number between 95 & 20).”
Tips for Electronic Locks
Electronic locks can have the combination changed by the user much more easily than dial locks. That should be a good thing. However, RFB explains: “That can be a double-edged sword. More than a few times I’ve had to drill open a safe with an electronic lock that has had the combo changed incorrectly by the user, resulting in an unknown number that nobody can determine. Also, don’t forget that electronic locks have a ‘wrong-number lock-out’. I would NOT rely on the normal quickness of an electronic 6-number combo in an emergency situation. If for any reason (panic etc.) you punch in the wrong number several times, the lock will shut down for a 5-minute ‘penalty’.
Combo Manual and Electronic Locking Systems
Forum member ELR Researcher notes that some companies offer Combo Electronic and Manual lock systems: “You can get BOTH on the same safe[.] That said, I have ALWAYS been able to just change batteries on the very rare occasion when I forgot to replace a battery, and I’m right into my safe. Securam also offers a SafeLogic Xtreme model that has both types in one unit — see Securamsys.com. This offers “Push button access for everyday use [and] SpinDial Access for Xtreme situations.”
Replace Electronic Lock Batteries Every Year
To get the most life out of any electronic (keypad Lock), you should always change the battery at least once a year, whether it needs it or not. With some systems you should replace every 6 months! Low voltage won’t necessarily shut down the lock, but using it in a low voltage situation is bad for the electronics, and eventually will cause lock failure. So, If you do nothing else to maintain your digital-lock safe, replace the battery every year.
And get a fresh battery (with a release date) from the store — don’t just pull a battery out of a storage bin, even if it’s never been used. Old batteries can lose “juice” and physically degrade, even when in storage.
This article is Copyright 2025 AccurateShooter.com. No reproduction on any other website is authorized without payment of licensing fees or liquidated damages.




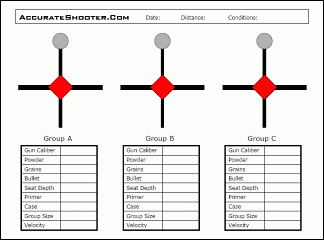 AccurateShooter.com has a page with dozens of



 More and more folks are using Burris Signature Rings these days. These unique rings feature polymer inserts. That allows you to pre-load some elevation in your scope set-up, or you can center-up the windage. Additionally, the polymer inserts hold your scope securely without leaving marks on the tube. Lastly, some folks believe that Signature rings may offer advantages for benchrest competition. Rodney Wagner shot a world-record 600-yard group using Burris Signature Zee Rings (“Zee” denotes the Weaver-rail model). James O’Hara set multiple IBS 1000-yard records using Burris Signature Zee Rings. James will tell you he thinks “all his guns seem to shoot best with these rings”.





 “Shoot Like a Champion”. Bryan Litz, author of
 Gunsafes can be fitted with either an electronic keypad-style lock, or a conventional dial lock. In our
  Tips for Dial Locks
 Replace Electronic Lock Batteries Every Year


