


Saturday Movies: Load Development for Hunting Rifles & MORE
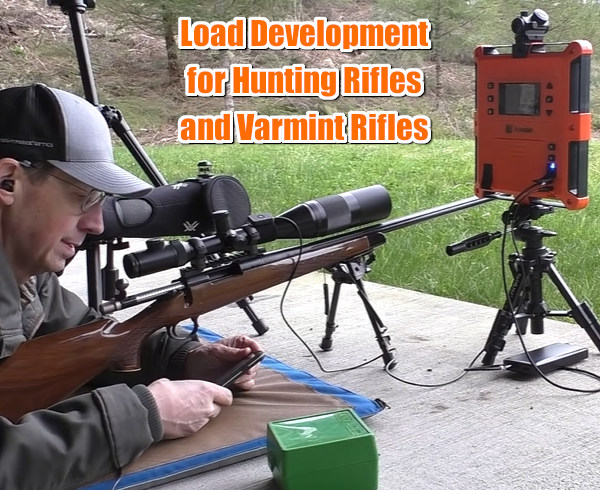
Keith Glasscock is an outstanding competitive shooter, who has finished second at the F-Class National Championships (F-Open) multiple times. Keith is also a skilled wind coach who runs the popular Winning in the Wind YouTube Channel. Along with his interest in F-Class competition and (recently) PRS/NRL competition, Keith also enjoys game hunting and varmint adventures.
Hunting season is coming soon, so today we showcase two videos Keith has made about developing hand-loads for hunting rifles. Developing accurate hand-loaded ammo for hunting and varmint rifles involves procedures that may be a bit different than load testing for a match rifle. You want to be efficient, and use the types of brass and bullets you’ll be using on the hunts. In these two videos, Keith shows how he developed good, accurate loads for a .223 Rem varmint rifle and a .308 Win hunting rifle.
In addition to Keith’s two informative videos, today we feature three other videos with useful tips and techniques for hunters and huntresses. These cover rifle marksmanship, hunting optics selection, and methods for sighting-in hunting rifles.
.223 Rem Load Development — Powder Charge and Seating Depth
In the first video, Keith covers the load development process for a Remington 700 bolt-action varmint rifle chambered in .223 Remington. Keith starts by full-length sizing the brass. Then he experimented with powder charge weights, and came up with a promising load of 24.7 grains of Alliant AR Comp with Hornady 50gr A-Max bullets.
Next Keith experimented with seating depths (see 5:30-6:100) and found that accuracy improved as he changed OAL length in .005 increments. Keith ended up with 2.270″ with a 3-shot group in the twos! This video shows the importance of testing your bullet choice at various seating depths. Keith shoots this rig prone off bipod, which is similar to the bipod shooting he does in the varmint fields. Keith explains key factors to consider when optimizing the .223 Rem cartridge in a varmint rig. Velocity readings are made with a LabRadar unit.

Load Development for .308 Win Hunting Rifle
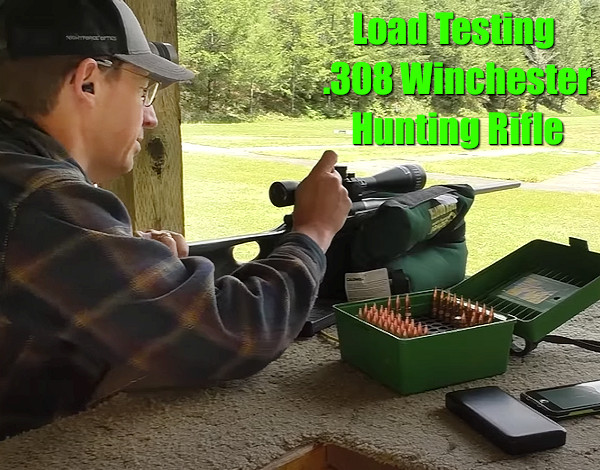
In a second video, Keith shows the process for load development with a .308 Winchester hunting rifle. Here Keith uses a large X-type sandbag for a front support. Again, he was shooting a Remington 700 bolt-action rifle, this time with Barnes TSX solid copper bullets, PPU Brass, Federal 210m primers, and AR Comp powder. Keith said the Barnes bullets were excellent — he commented that these bullets were “match quality in terms of precision”. Keith achieved some very small three-shot groups with AR Comp and the TSX projectiles. Keith did note that point-of-impact shifted up significantly with increases in charge weight (see 6:20-7:10). With thinner-contour hunting barrels, this is not unexpected. But POI change should be observed carefully during load development, as you may need to adjust your zero after completing testing.

Three Bonus Videos for Hunters and Huntresses
Here are three videos with useful tips and techniques for hunters and huntresses. These cover rifle marksmanship, optics selection for deer hunting, and efficient methods for sighting-in hunting rifles.
How to Shoot Better with a Hunting Rifle
This “must-watch” video has great practical advice for hunters. It illustrates proper hand-hold and head position, and shows how to stay steady when breaking the shot. Even competition shooters can learn a few things. One viewer notes: “This was very informative. The footage through the scope showing how one’s position moves the sight alignment was particularly helpful.”
You’ll find more great videos on Thomas Haugland’s THLR.NO YouTube Channel, that offers videos for long-range hunters and marksmen. Haugland, who hails from Norway, is a serious shooter, who takes his rifles out into the field, in all conditions. The THLR.NO channel offers solid advice on scopes, reticles, wind-reading, field positions, and much more. Haugland’s team puts a wide variety of gear through serious field tests — every thing from suppressors to packs to electro-optical hardware. In addition the THLR.NO channel provides good advice on stalking techniques and hunting skills.
The Complete Optics Selection for For Deer Hunting
In this video, Vortex optics techs explain the optics package deer hunters will want to take into the field. Along with a good medium-power zoom riflescope, you’ll want binoculars and (probably) a spotting scope. You’ll also want a Laser Rangefinder (LRF) or laser-equipped binoculars. As the team points out, the LRF is not just to range your prey right before you take a shot. A top-quality LRF can range a reflective object as far as 1500 yards away. That helps you decide whether you want to hike a mile to reach that buck you see way out on the next ridge.
How to Sight-In Your Hunting Rifle

This video offers good basic advice for sighting-in a hunting rifle. There are a series of six points covered. Here’s Tip #1: “Find a safe place to shoot your rifle with a backstop. If possible, use a bench and a rock-solid shooting rest. Sighting-in is all about consistency, so the less human error you have, the better. For safety, be sure to also bring ear and eye protection.” READ FULL ARTICLE on NRAWomen.com.


