Eurooptic vortex burris nightforce sale


teslong borescope digital camera barrel monitor


As an Amazon Associate, this site earns a commission from Amazon sales.


February 2nd, 2018

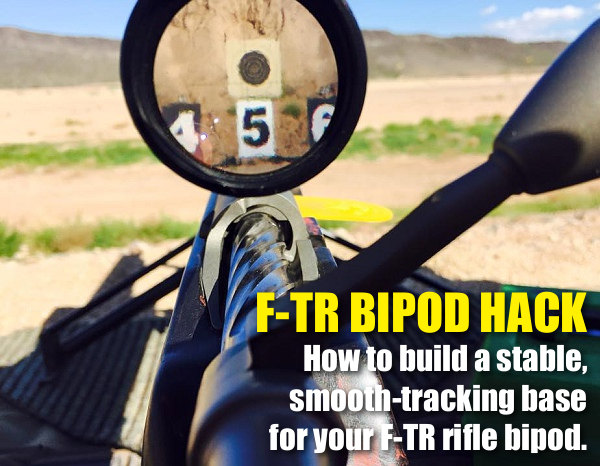
F-TR TIP — Make a More Stable, Lower-Friction Front Bipod Pad

F-Class F-TR bipod front support pad platform

The Berger Southwest Nationals (SWN) is coming up next week at Ben Avery in Phoenix. Many of the nation’s top F-Class shooters will be there. Here are some tips that can help F-TR shooters competing at the SWN. These suggestions will also benefit any F-TR shooter who is looking for a more stable set-up under his bipod, and easier adjustment of the vertical when using a Phoenix-style (non-joystick) bipod.

How to Set up a Stable Front Pad for Your F-TR Bipod

To get peak performance from your F-TR rig, you need good support under the bipod. You want the base to be firm, but you also want a smooth, low-friction surface so the bipod feet can slide properly. Some guys just shoot off a carpet or a slab of wood with some rubber on top. There is a better way.

Forum member PBike shows how a three-element front set-up offers the best of both worlds — a firm platform with low-friction top. PBike’s set-up has three elements. Layer 1 is a thick rubber mat. Layer 2 is a steel plate with thin neoprene glued top and bottom. Layer 3, on which the bipod feet rest, is a thin neoprene door-mat with a low-friction surface, like the top of a MousePad. The video below shows how the three layers are arranged.

Pbike explains that, under F-TR rules, “You can use any series of pads or plates, so long as they are flat and do not include [tracking channels/slots] for the bipod feet”. The plate can be 12″ fore and aft, and the overall width may not extend more than 2″ beyond the bipod feet on either side.

F-Class F-TR bipod front support pad platform

F-Class F-TR bipod front support pad platform

F-TR Bipod Support Components (Bottom to Top)
LAYER ONE (bottom): Thick Rubber Pad, such as a heavy doormat
LAYER TWO (middle) Steel Plate, approximately 12″ x 24″, with attached neoprene
LAYER THREE (top): Neoprene Upper pad (slick upper surface like a MousePad)

NOTE, if the surface is not level, you can use wood shims to level the surface both left to right and front to back. The shims slide under the lowest pad. With a small saw, these can be trimmed so they don’t extend past the pad’s dimensions, maintaining compliance with F-Class rules.

The Phoenix bipod is an excellent product, but some folks like to run their rifles lower for better tracking and less hop. This can be accomplished with the PBike Aetkinz Engineering Lowering Kit. That Kit lowers the entire assembly 1.7 inches. For more information contact Pbike257 [at] gmail.com.

Phoenix Bipod “Rear Drive” and Steering Kit

F-TR rifle stock fore-ends are getting longer, allowing competitors to mount their bipods further forward. This longer “wheelbase” can deliver more stability, less hop, and better tracking. There’s a problem, however — if the bipod is attached way out front, it can be difficult to reach the bipod’s elevation controls. Some shooters grab the back end of the ski foot to adjust the rifle’s lateral position, but that doesn’t help with vertical.

F-Class F-TR bipod front support pad platform

PBike has developed a new accessory that lets you adjust the Bipod’s Mariner wheel easily and precisely. Basically this is a rotating, anodized aluminum tube that extends rearward. It has a 90° gear drive that replaces the Mariner wheel, allowing vertical adjustment by rotating the tube clockwise or counter-clockwise. See how it works in this video, starting at 1:40:

Pbike explains: “This is a really comfortable way to shoot. With this handle I can adjust for elevation and I can also steer the rifle fore and aft, left/right — anywhere I need to. I can make minute adjustments up and down, as needed, with the knurled handle.”

Video Suggestion by Boyd Allen. We welcome reader submissions
Permalink - Videos, Competition, Gear Review, New Product 3 Comments »
January 6th, 2013

Gear Review: Paul Becigneul Case Turning Motor and Collet

On his Rifleman’s Journal website, German Salazar has done a nice review of Forum member Paul Becigneul’s Case Turning Motor. READ Full Review on RiflemansJournal.com

Becigneul Case Turning Motor, by German Salazar
Although there have been a variety of similar devices and ‘case lathes’ offered for sale in the past, they’ve been priced fairly high. Paul’s unit is reasonably priced ($220.00) and built like a tank. The motor turns at about 180 rpm which is just right for neck turning. What’s really nice is that the motor has enough torque to hold its speed throughout the whole operation and a/c power to run all day long!

paul Becigneul Rotary Power supply

The unit’s design is fairly straight-forward: a surplus electric motor turns a Forster case-holding collet. Paul makes a nice knurled collar to open and close the collet.Power is controlled by a household type wall switch attached to a long cabe. The whole assembly is mounted on a nice hardwood base.

Video of Paul Becigneul’s Case Turning Motor in Use

In operation, it works very well. The collet has enough clamping power to hold the case after a quick hand-tightening, no wrench is needed (although you can use one if you are so inclined). A quarter turn of the collar opens the collet and a quick turn of the wrist tightens it back up. As with any powered case neck turning device, the case wobbles a bit as it turns. This doesn’t matter a bit as the turning cutter is held in your hand (which is free to move) and the cutter’s arbor is the actual alignment device. The wobble is the same or less than what I had using a power screwdriver with a K&M holder.

For more information, email Paul Becigneul via: pbike4466 [at] directv.net. In 2012, the basic unit cost $220.00 each collet was $10 and shipping is $20 to most U.S. locations.

Editor’s Comment: In the video, Paul uniforms case flash-holes with a Lyman tool (from the inside) and then uniforms primer pockets (from the outside) with a K&M tool. While we do believe that flash-holes should be inspected to ensure there are no obstructions or flakes blocking the hole, we have not found that flash-hole or primer-pocket uniforming produced measurable improvements in accuracy with Lapua 6mmBR brass. In fact, in our tests using a manual K&M flash-hole uniformer, ES/SD actually got worse after the flash-holes were “uniformed”.

Keep in mind also that many deburring tools for 0.059 (PPC-size) flash-holes actually over-cut substantially, reaming the holes to as wide as 0.068″. The Lapua PPC/BR flash hole is spec’d at 1.5mm, which works out to 0.059055″. Most of the PPC/BR flash-hole uniforming tools on the market use a 1/16″ bit which is nominally 0.0625″, but these often run oversize — up to 0.067″. If you like to uniform your primer pockets, be our guest (this can be useful with lesser-quality brass). But before pocket-uniforming dozens of cases, you might do a comparison test (by shooting uniformed vs. un-uniformed ammo) to see whether this operation actually improves accuracy with the brass you are using.

Permalink Bullets, Brass, Ammo, New Product, Reloading 4 Comments »